Ecommerce Pick/Pack Workflow
Overview
What is pick and pack?
Pick and pack is a part of the order fulfillment process, in which warehouses pick individual units from larger master cartons or pallets, pack them, and ship them to a recipient. This pick and pack process is essential to the efficiency, accuracy, and speed of your shipments.
When would I use it?
Most warehouses use pick and pack processes any time they want to validate the items being shipped in an order, especially when shipping ecommerce orders or B2C shipments.
What is the process?
There are several configurations that need to take place in and out of 3PL Warehouse Manager before you can successfully implement this pick and pack workflow. Please make sure the following have been completed before proceeding:
- Carts are set up in the warehouse with barcoded bins
- All relevant orders are fully allocated and in a Complete status
- All relevant billing charges are properly configured
- All relevant items are fully configured
- All relevant package types are configured
- SmartScan is enabled
- SmartPack is enabled
- SmartParcel is enabled and configured
- Rate shopping is enabled and configured
- Zebra Browser Print is installed and fully configured
- Barcode sheets are attached to each packing station
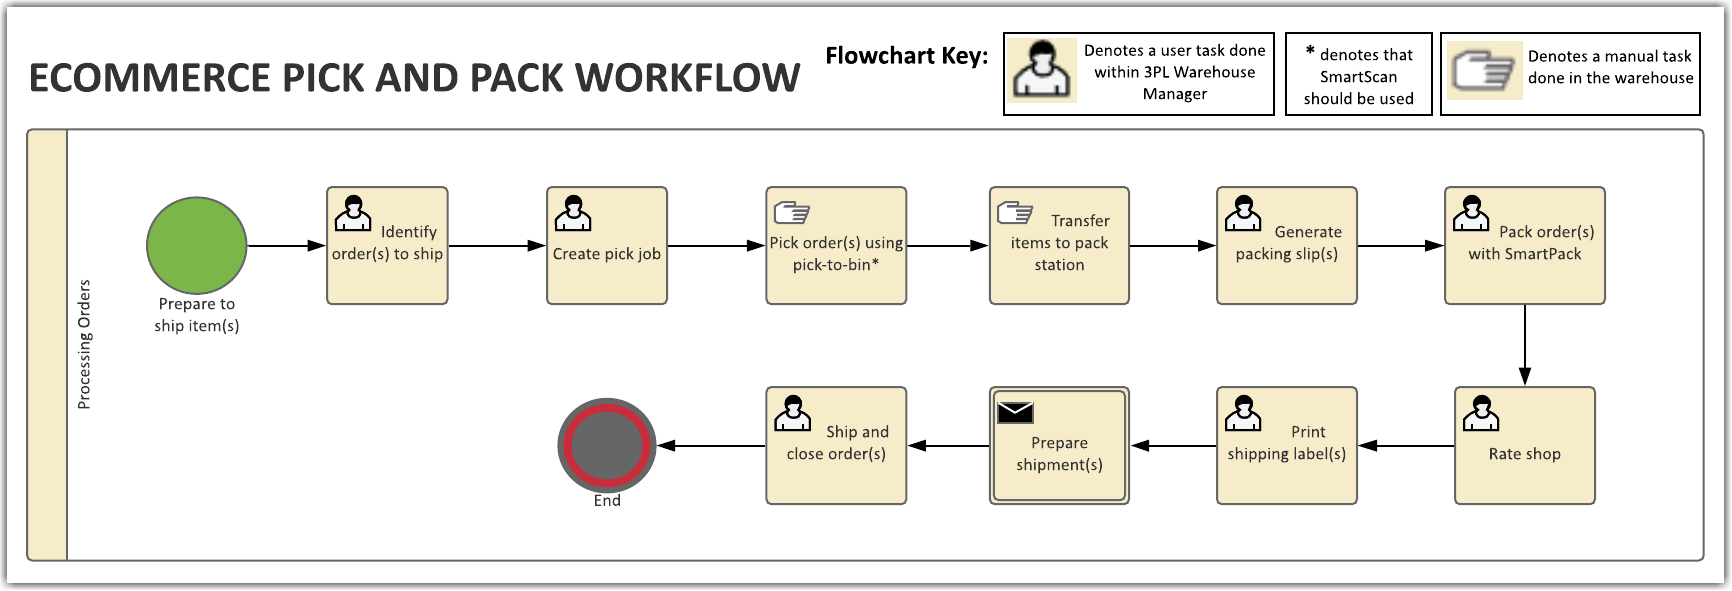
Below is a flowchart of the overall process of a pick and pack workflow, which is further detailed in this article. To enlarge, right-click the image and select "View image" or "Open image in new tab"—the verbiage depends on your web browser.
Processing Guidelines
Step 1: Find orders
Once you are ready to start processing your orders, locate them in the Orders grid of 3PL Warehouse Manager under Orders > Find Orders. If needed, use the search filters in the left pane to refine the results displayed in the grid.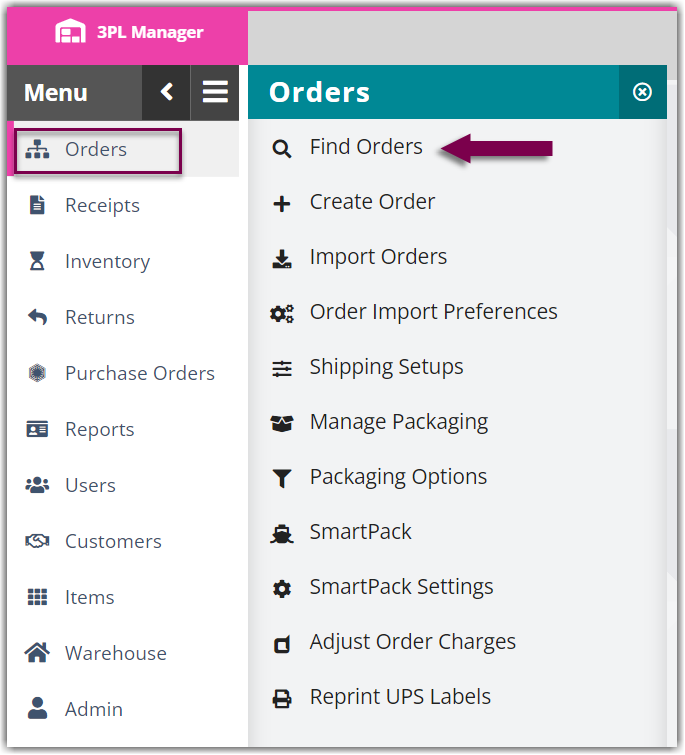
Step 2: Create pick job
The pick job functionality allows you to seamlessly create one pick job for two or more orders using a pick-to-bin method. This picking process utilizes a pick cart with bins allocated for each order being picked and is best practice if you have many small or medium-sized items for multiple orders.
Follow the steps below to get started.
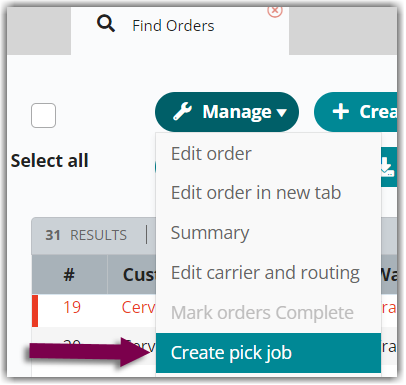
- Select all the relevant orders you wish to include in the pick job, using < Ctrl > or < Shift > on your keyboard to multi-select.
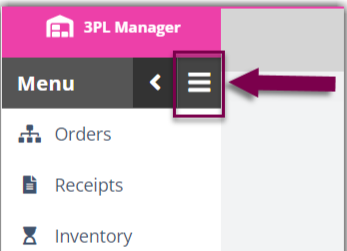
- Hover over Manage, then click Create pick job to open the Create Pick Job dialog.
- Optional: From the drop-down menu, select a 'Priority'. 1 denotes the highest priority, while not specifying a priority prioritizes the job based on the time the pick job was created.
-
Optional: Select a specific 'Owner' to complete the pick job, then enter any necessary 'Instructions' the picker may need for the job.
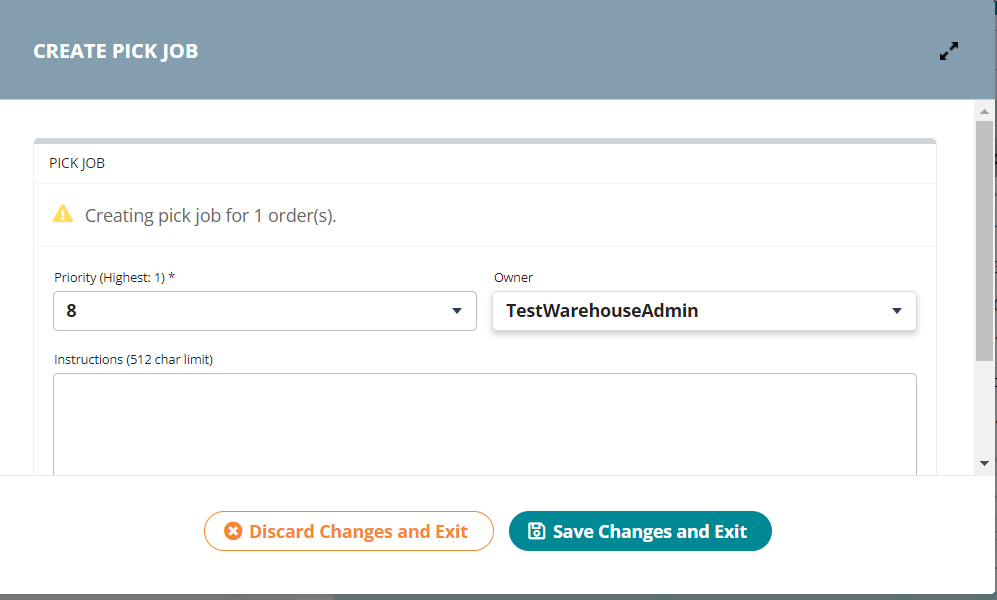
- Click Save Changes and Exit. You can then proceed to pick the job using SmartScan.
Step 3: Pick orders
The following diagram displays the overall layout of the pick-to-bin process.
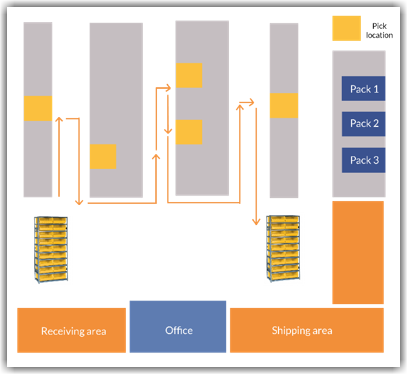
Once you create a pick-to-bin pick job in 3PL Warehouse Manager, utilize SmartScan to complete the batch pick. Please note that you must have carts and uniquely barcoded bins set up in your warehouse before proceeding.
- Log in to SmartScan.
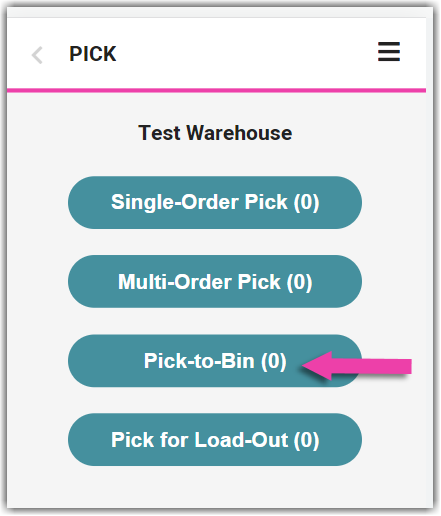
- Ensure the appropriate 'Warehouse' is selected from the drop-down list, then tap the Pick module. Note that the number displayed reflects the number of orders available to pick.
- Tap Pick to Bin.
- Pick jobs are prioritized by specified priority and transaction number.
- To begin the order shown, tap Start Pick.
- To skip to the next prioritized order, tap Skip Pick. Once all orders are skipped, there is an option to 'Reset Pick' to the beginning of the list of pick jobs.
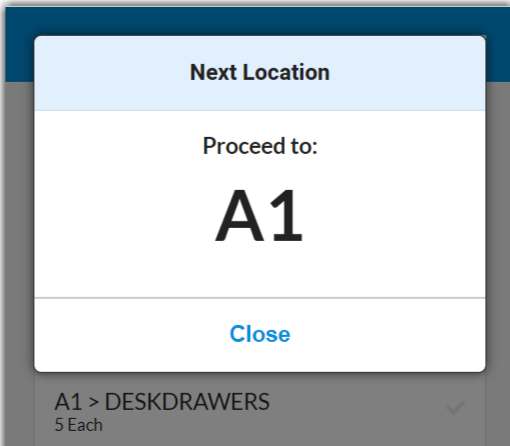
- If a specific location is associated with the pick job, SmartScan directs you to proceed to that location.
- Once the Pick SKU/UPC dialog opens, scan the 'Location' and 'SKU/UPC' for the first item, as well as any required track-by's, such as Lot Number or Serial Number.
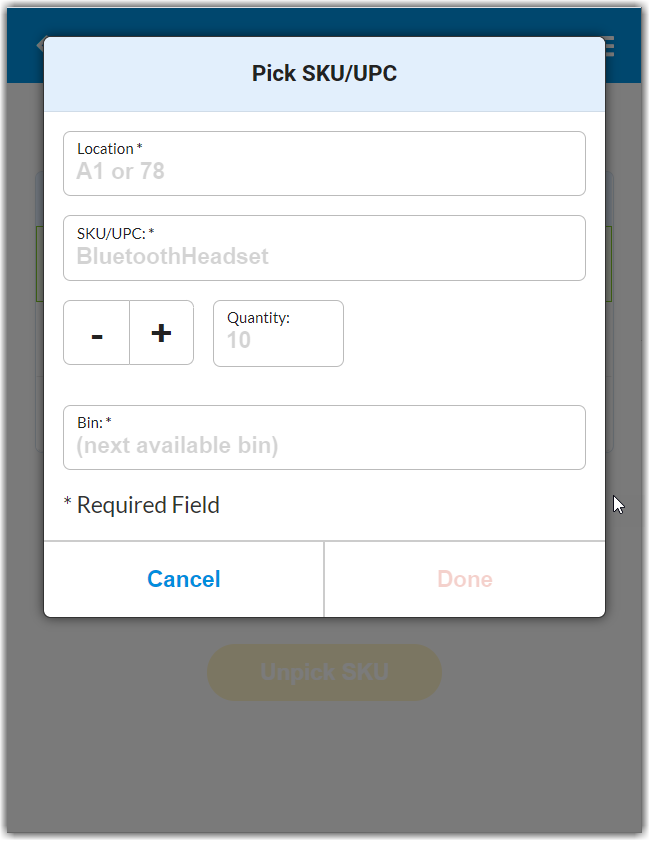
If you click Cancel to return to the pick list, you can search for a specific SKU, UPC, or MU by typing or scanning the respective value. SmartScan will open the first line item that matches the specified value.
- If the quantity is greater than 1, scan each item until the full quantity is reached.
- Distribute the items across the appropriate bins, scanning each 'Destination Bin' barcode.
After you scan a unique bin number for the first time, SmartScan validates that bin ID for any additional items going into the same bin. Please note that the bin is associated with the order until it is fully packed, and you cannot use the same bin for more than one order at a time. - Once placed in the appropriate bin(s), the line item displays a green check to indicate the inventory has been picked. Repeat Steps 5–7 until all items are picked. If you have multiple pages of line items to pick, tap one of the bottom arrows to navigate to the next or previous page of line items.
If you need to unpick an item, select the appropriate line item, then tap Unpick SKU. Repeat the pick as needed.
- Once you have completed the pick job, tap Finish Pick. A confirmation message appears.
If you were unable to pick all items associated with the pick job and you have the 'Force Pick Complete' permission applied to your user role, the application allows you to pick the partial inventory and prompts you to specify a reason. Once selected, tap Complete to receive the confirmation message.
The orders are now ready to be packed.
Step 4: Generate packing slips
3PL Warehouse Manager contains a standard packing slip to accompany the shipment. Packing slips provide the recipient of an order with a full list of the items dispatched from the warehouse.
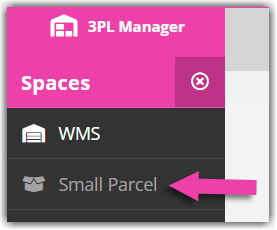
- To generate a packing slip, locate a packing station and navigate to the Small Parcel space.
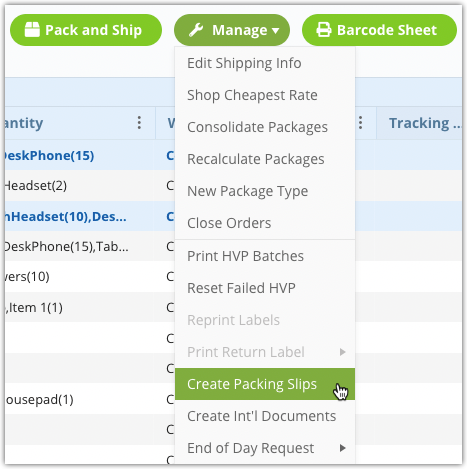
- Select the relevant orders from the grid, then click Manage > Create Packing Slips.
- Ensure the appropriate type, template, and export format is selected, then click Generate.
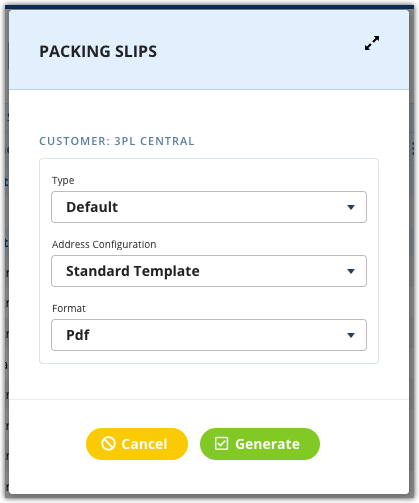
- Repeat Steps 2 and 3 for each order as needed.
Step 5: Pack orders and print shipping labels
SmartPack is a premium feature designed to automate and verify packing accuracy, optimize shipping prep-time, and streamline your packing process. Integrated with SmartParcel, SmartPack allows you to generate carrier shipping labels directly from 3PL Warehouse Manager. Once a label is printed, your tracking number automatically populates in the Small Parcel and Find Orders grids,
If your shipping method depends on identifying the best carrier/service by carrier costs or delivery times, you may want to utilize our rate shopping feature, covered in Step 7 below. Please note that there may be instances where your customers require a specific carrier and service to be used. In those situations, rate shopping would not be utilized.
- In the Small Parcel space, select the search field above the grid and scan the relevant bin barcode to open the Pack and Ship dialog.
When you first open the Small Parcel homepage, the system immediately puts the focus on the field to allow for a quick and easy scan.
- Specify the first package by scanning the package barcode. The specified package type populates in the first gray row of the grid.

-
Optional: If you don't plan on grouping your pack by SKU (e.g., pack the full quantity of SKU A before packing the full quantity of SKU B), enable Qty 1 pack above the grid.
- Begin packing each item into the specified package by scanning the SKU barcode.
- If you don't have 'Qty 1 pack' enabled and the line item quantity is greater than 1, adjust the quantity as needed by scanning each individual SKU or manually entering a quantity. If you are packing a partial quantity, click Next.
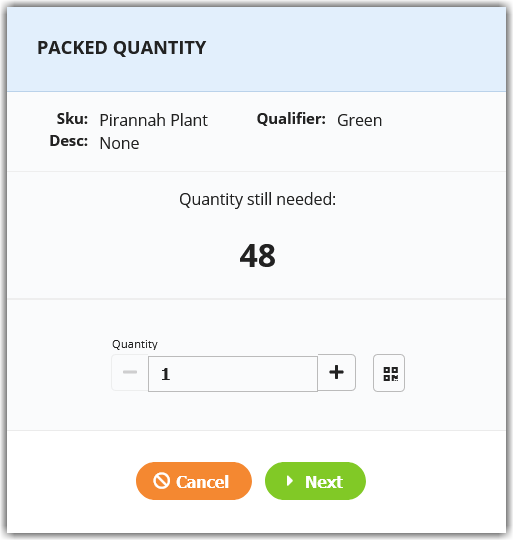
If utilizing outbound serialization, scan each serial number as needed.
- If you don't have 'Qty 1 pack' enabled and the line item quantity is greater than 1, adjust the quantity as needed by scanning each individual SKU or manually entering a quantity. If you are packing a partial quantity, click Next.
- A green check populates on the far-right of each line item that is packed successfully. If there are additional packages on the order, repeat Steps 2–4 until all items are packed.
- Verify that the default label selections fit your needs, or adjust as needed.
If using high-volume processing, see Using High-Volume Processing (HVP) with SmartParcel. - Optional: To request a list of available shipping rates, click Get Rates, then select Save to apply the selected rate to the order.
- After you make your selections, you can generate your shipping labels or queue your batch of HVP labels by scanning 'Pack and Ship' from your barcode sheet.
- Repeat Steps 1–8 for each order.
Step 6: Ship and close orders
Once you've packed your orders and printed the shipping labels, it's time to ship them to their destination and mark them as closed.
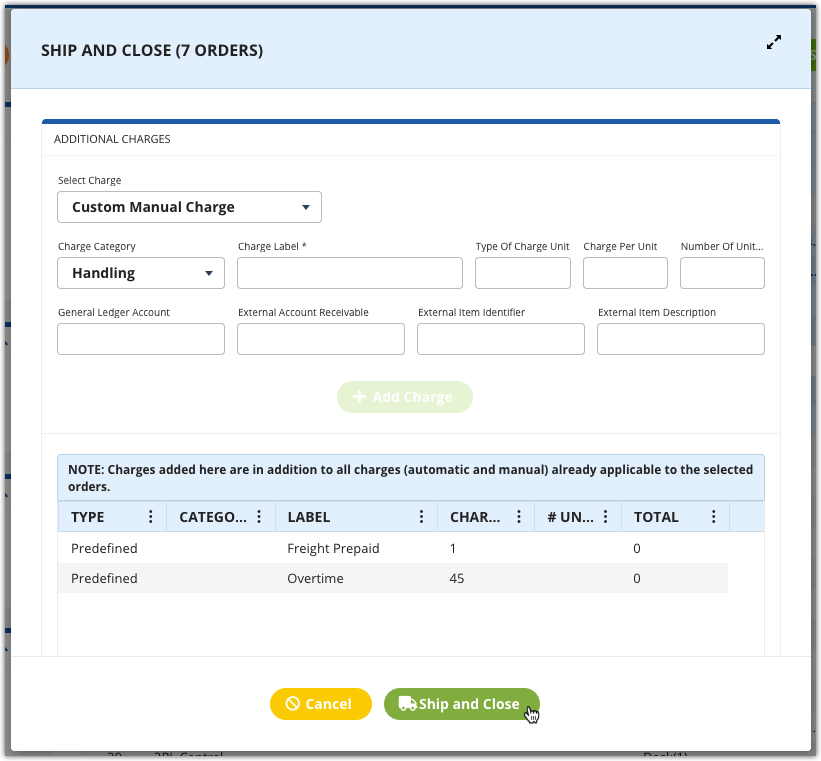
To do so, select the relevant orders from the Small Parcel grid, then click Manage > Close Orders to open the Ship and Close dialog.
Add additional charges as needed, then click Ship and Close.