Entering Custom Order Info
The Custom Order Info section allows you to input transactional custom fields on an order. If an order is created via EDI or REST API, these attributes are auto-populated based on your predetermined connection settings and are often referred to as saved elements.
Custom fields can be created on an ad-hoc basis. They can also be pre-configured under Customers > Custom Fields and will automatically populate in this section. For more information on custom fields, please see Understanding Custom Fields.
This article reviews how to manually add ad-hoc custom fields to an order.
Custom Order Info is not required to complete an order unless you have custom fields configured as such. This functionality is only available if you have custom fields enabled for your database under Admin > Settings and the 'Enable custom fields' setting activated in your customer's setup options.
Order-level custom fields
To create an ad-hoc, order-level custom field, click + Add New Custom Field, enter a 'Name' and ‘Value’ for the field, then click Save. The new custom field will populate in the grid.

Once you manually create an order-level custom field, you can edit the value by selecting it within the grid, modifying the value, and then selecting < Tab > on your keyboard to save the new value. To remove the custom field, select the custom field from the grid, then click Delete.
Line-item-level custom fields
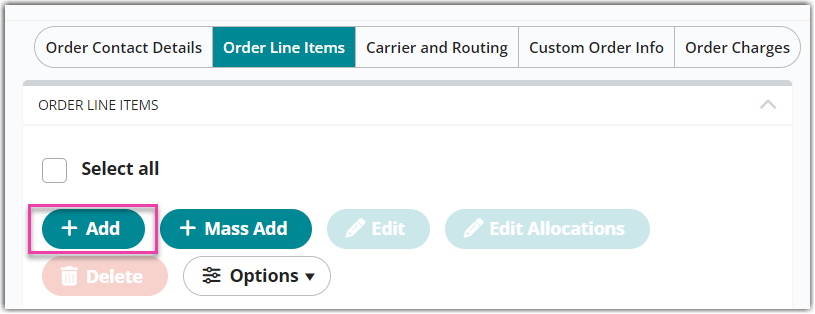
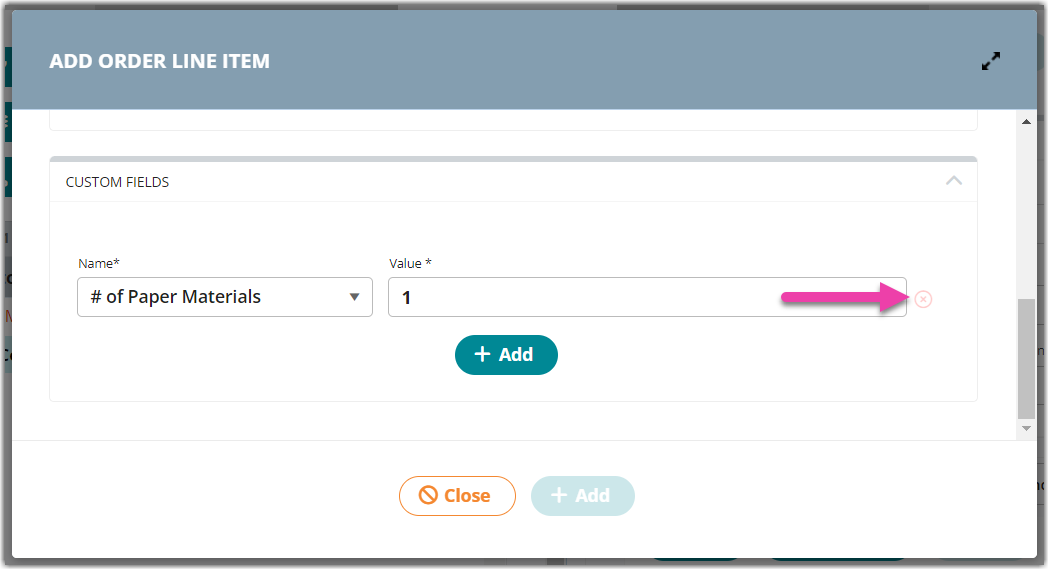
Ad-hoc line item custom fields are added under the Order Line Items section on an order. To create a line-item-level custom field, add or edit a line item, then click Add in the Custom Fields section. Enter the 'Name' and 'Value', then click Add or Save at the bottom of the dialog.

To remove a manually created line-item-level custom field, select the relevant line item from the grid, click Delete.

Once you've entered custom fields, you can continue to the next order section—Order Charges. If you'd like to come back and edit the order at a later time, don't forget to click Save!
